Apache Ranger is a security framework which lets you define the policies to control the data access in Hadoop. It provides a web-based console that can be used by the system administrators of the Hadoop cluster to define and activate the access policies. Apache Ranger understands how different tools interact with Hadoop and lets you define permissions accordingly. For example, for Hive data, you can define whether a user is allowed to create or drop a table or read a column using Apache Ranger.
Apache Ranger is started and owned by Hortonworks and because of this, it has good compatibility with the Hortonworks Hadoop distribution. As part of HDPCA exam, we will install and configure ranger in this post.
Installing and Configuring Ranger with ambari
Login to ambari dashboard and goto services page. Click add Add service under “Actions” Drop down to add a new service.
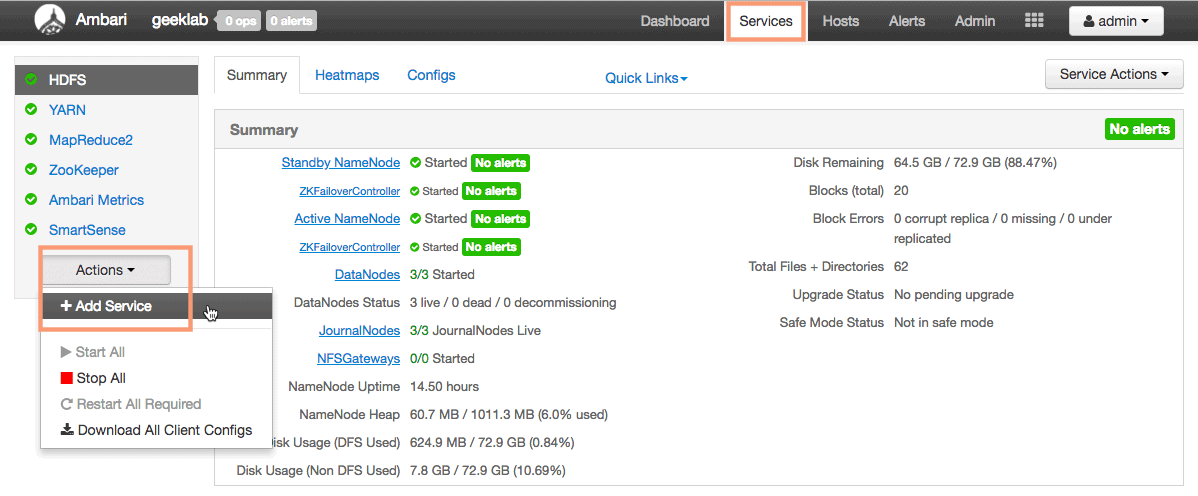
1. Add Service Wizard
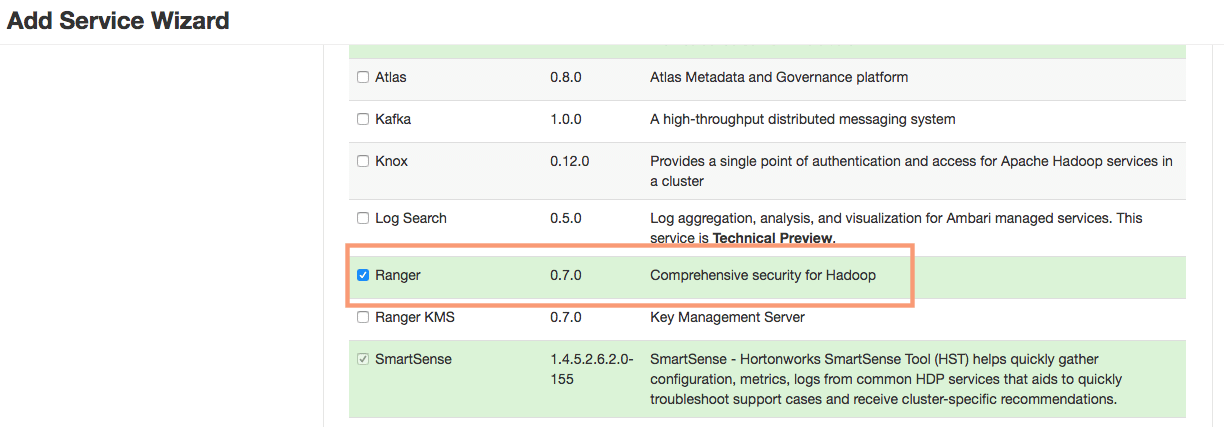
This will open up the ambari add service wizard which will guide us in installing Ranger. Select the service ranger from the list of service and click next.
2. Ranger Requirements
We need to have a database running on any of the nodes in the cluster or in the infrastructure which we can use to configure Ranger. We are going to use the postgresql database which is already installed and configure in ambari-server.
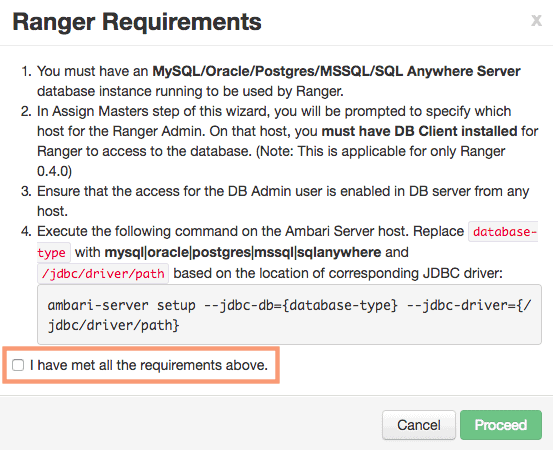
As the install wizard says, we will have to run the command in the 4th step. The database type here will be postgresql. To find jdbc driver path, first find the port on which postgresql is running on the ambari-server:
# ps -ef | grep -i postgresqlroot 5221 1 1 Jul17 ? 01:31:21 /usr/jdk64/jdk1.8.0_112/bin/java -server -XX:NewRatio=3 -XX:+UseConcMarkSweepGC -XX:-UseGCOverheadLimit -XX:CMSInitiatingOccupancyFraction=60 -XX:+CMSClassUnloadingEnabled -Dsun.zip.disableMemoryMapping=true -Xms512m -Xmx2048m -XX:MaxPermSize=128m -Djava.security.auth.login.config=/etc/ambari-server/conf/krb5JAASLogin.conf -Djava.security.krb5.conf=/etc/krb5.conf -Djavax.security.auth.useSubjectCredsOnly=false -cp /etc/ambari-server/conf:/usr/lib/ambari-server/*:/usr/share/java/postgresql-jdbc.jar org.apache.ambari.server.controller.AmbariServer
# lsof -p 5221| grep postgresqljava 5221 root 119r REG 253,0 588974 26952558 /usr/lib/ambari-server/postgresql-9.3-1101-jdbc4.jar
Run the below command on the ambari-server:
# ambari-server setup --jdbc-db=postgres --jdbc-driver=/usr/lib/ambari-server/postgresql-9.3-1101-jdbc4.jarUsing python /usr/bin/python Setup ambari-serverIf you are updating existing jdbc driver jar for postgres with postgresql-9.3-1101-jdbc4.jar. Please remove the old driver jar, from all hosts. Restarting services that need the driver, will automatically copy the new jar to the hosts.Copying /usr/lib/ambari-server/postgresql-9.3-1101-jdbc4.jar to /var/lib/ambari-server/resources JDBC driver was successfully initialized.Ambari Server 'setup' completed successfully.
We also need to allow the access to the DB admin user from any host in the cluster. For this we will need to edit the pg_hba.conf configuration file. First find the location of pg_hba.conf configuration file.
# locate pg_hba.conf/usr/share/pgsql/pg_hba.conf.sample/var/lib/pgsql/data/pg_hba.conf
Now, Edit the file to add below line which gives access to all the nodes in out cluster to the postgresql DB. 192.168.1.0/24 is the subnet on which my cluster is built upon.
# vim /var/lib/pgsql/data/pg_hba.confhost all all 192.168.1.0/24 trust
Once you have done all these steps, proceed to the next step.
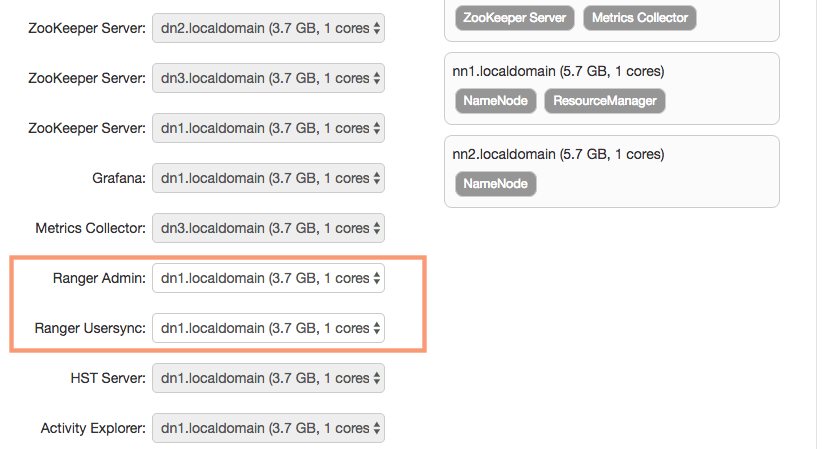
3. Assign Masters
On the next page, we will assign the “Ranger Admin” and “Ranger Usersync” role to the cluster node dn1.localdomain.
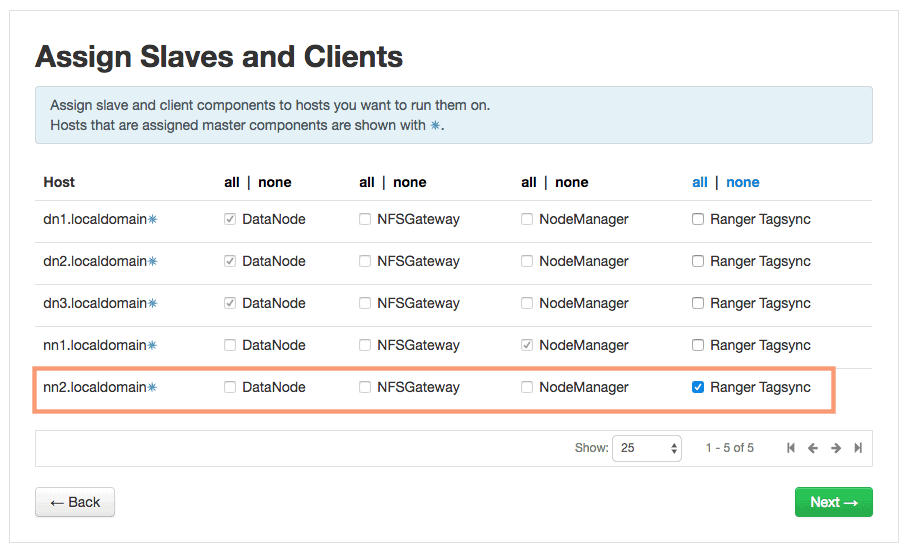
4. Assign Slaves and Clients
We need to assign the “Ranger Tagsync” role to at least one of the cluster nodes. We will keep the default selection of nn2 as the Ranger Tagsync node an proceed further.
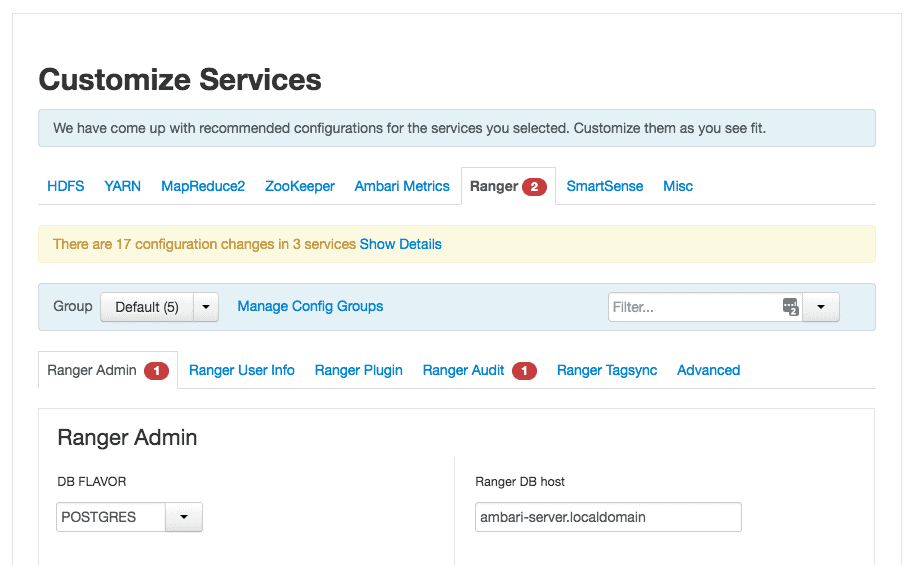
5. Customize Services
We need to configure 2 components for the Ranger to work on the next page:
1. Ranger Admin
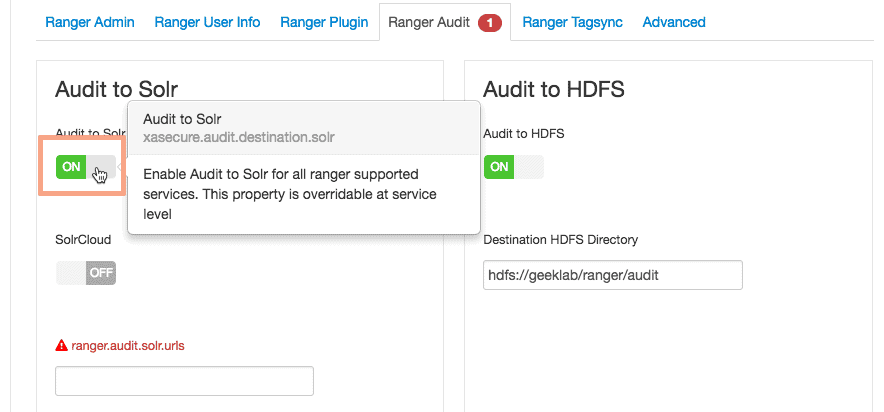
2. Ranger Audit
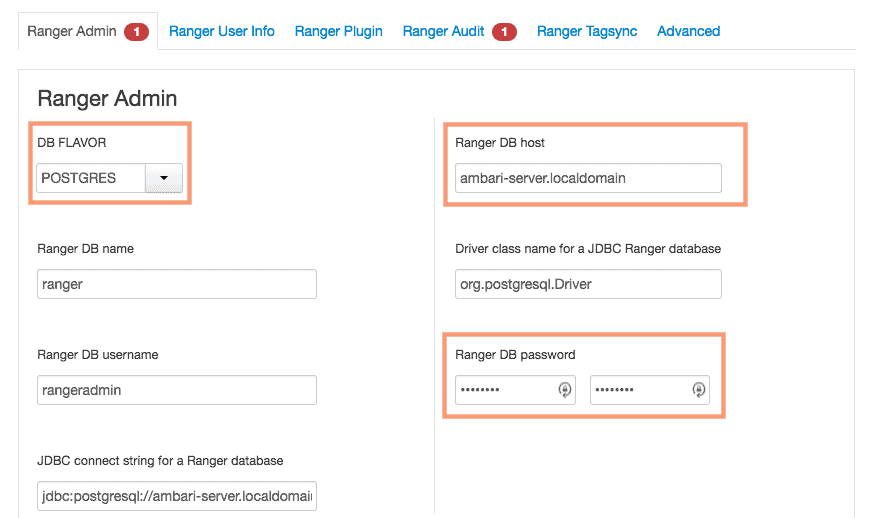
For the “Ranger Admin” section, we will use the below settings:
- DB FLAVOR: POSTGRES
- Ranger DB Host: ambari-server.localdomain
- Ranger DB Password: Password of your choice
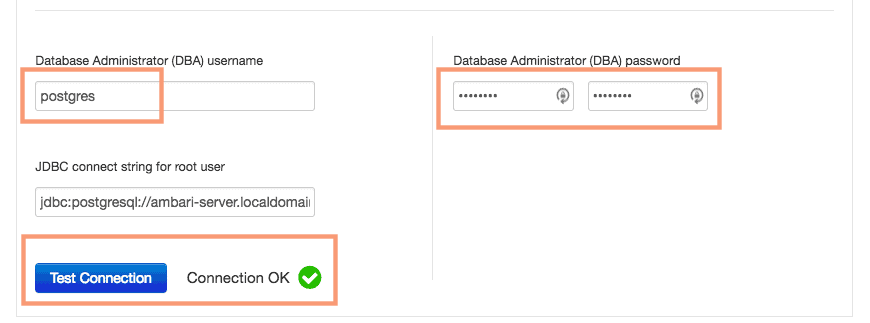
- Database Administrator (DBA) username: postgres
- Database Administrator (DBA) password: postgres
The default username:password for the Postgres instance used in ambari is postgres:postgres. We will use it the same in the settings.
For the “Ranger Audit” section, we will disable the audit to solr as we do not have the solr setup configured in our lab setup.
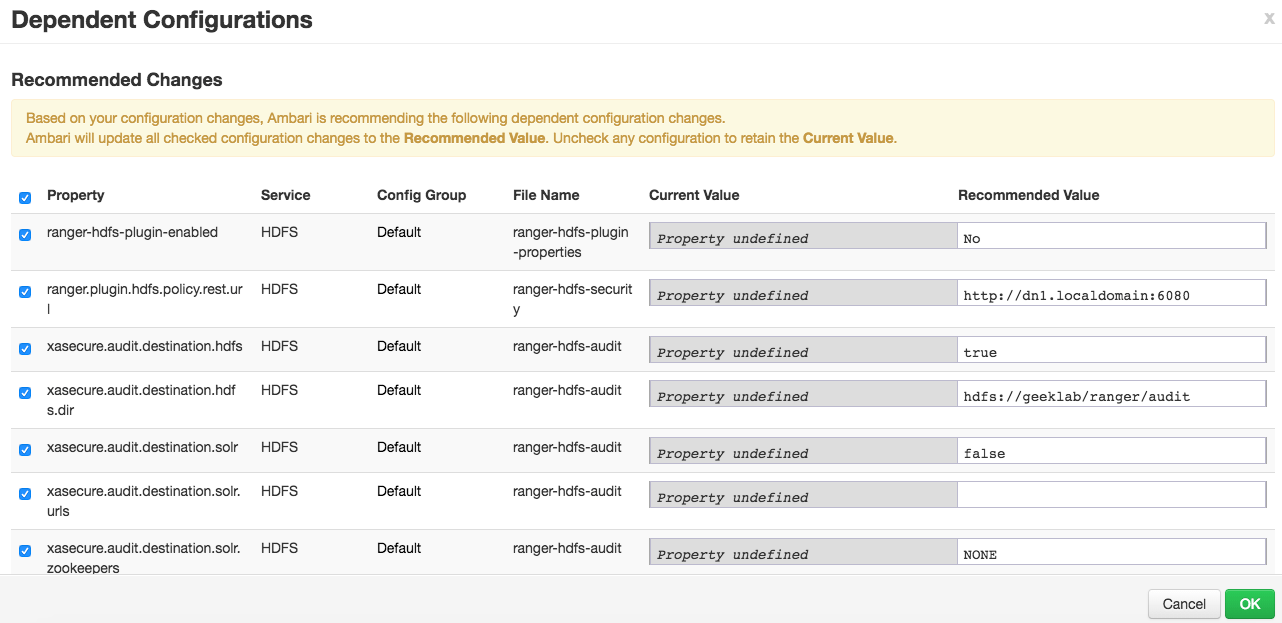
6. Dependent Configurations
Based on the current configuration we have, ambari will recommend us few configuration parameters on the next page. We will keep the default configuration as suggested by the ambari wizard.
7. Review
You can review the configuration at this stage. After this stage, the installation will start.

8. Install, Start and Test
Ambari will go ahead and start the installation of Ranger with all the settings/configurations you have provided until now. It will also start and Test the services after the installation is completed.
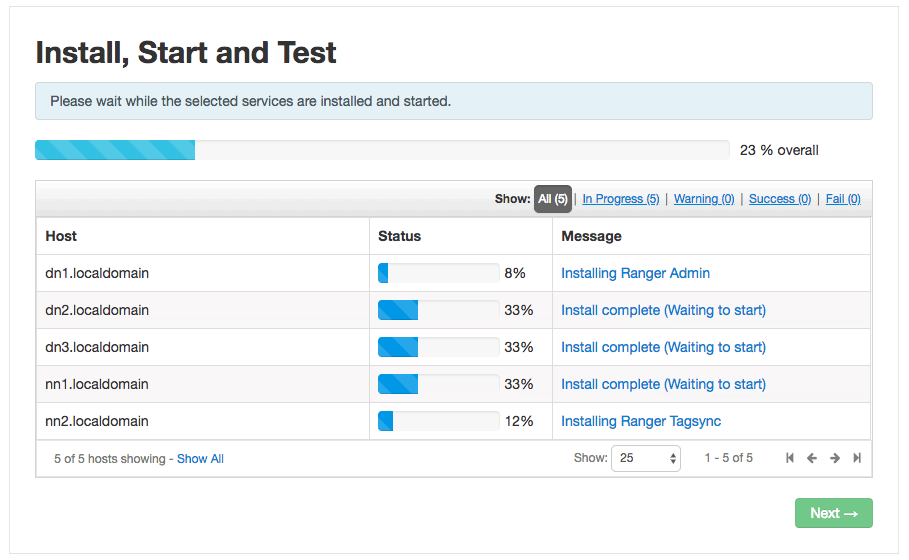
It will take a few minutes to install and configure Ranger. You should see a screen as shown below post successful install of Ranger.

9. Summary
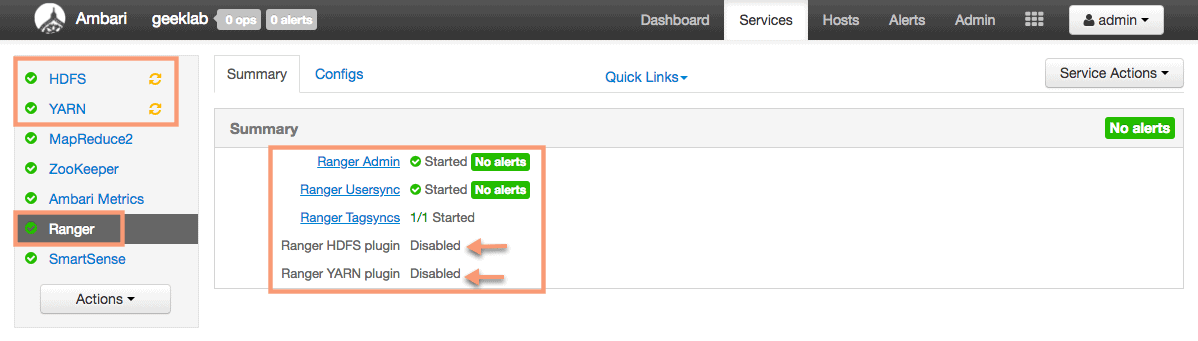
On the last page of the wizard, you can review the installation summary.
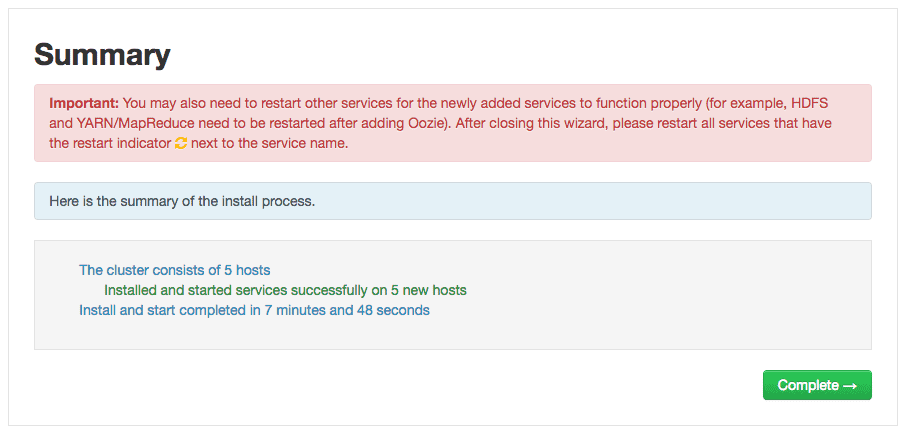
As suggested by the wizard, we may have to restart a few affected services for the Ranger to work properly. In my case, I have to start “HDFS” and “YARN” services.
With this, we have completed the successful installation and configuration of Ranger service using ambari. In the next post, we will see “how to create HDFS policy in Ranger user interface”.
Test driving Apache Ranger
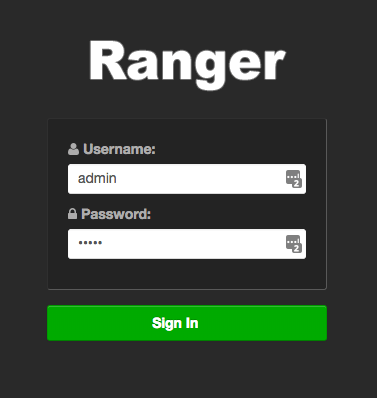
The default port on which Ranger runs is 6080. You can access the Web UI of Ranger on : http://[ranger-server]:6080. In out lab setup we have installed the Ranger on dn1 cluster node. The login screen looks like below (default username password are admin:admin).
http://dn1.localdomain:6080
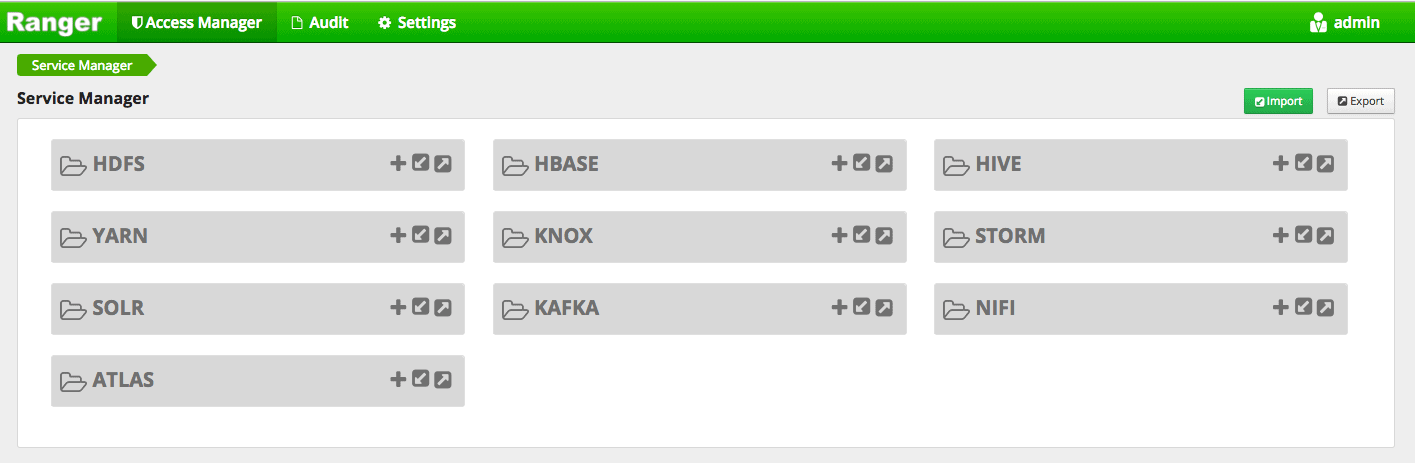
The Ranger dashboard:
As we know, Big data modernization solutions is the future of the industries these days, this article helps me to figure out which language I need to learn to pursue the future in this field.
ReplyDeletemmorpg oyunları
ReplyDeleteınstagram takipci satin al
tiktok jeton hilesi
Tiktok jeton hilesi
saç ekimi antalya
instagram takipçi satın al
Instagram Takipçi Satın Al
metin2 pvp serverlar
instagram takipçi satın al
En son çıkan perde modelleri
ReplyDeletesms onay
mobil ödeme bozdurma
nft nasil alınır
ankara evden eve nakliyat
trafik sigortası
dedektör
web sitesi kurma
aşk kitapları